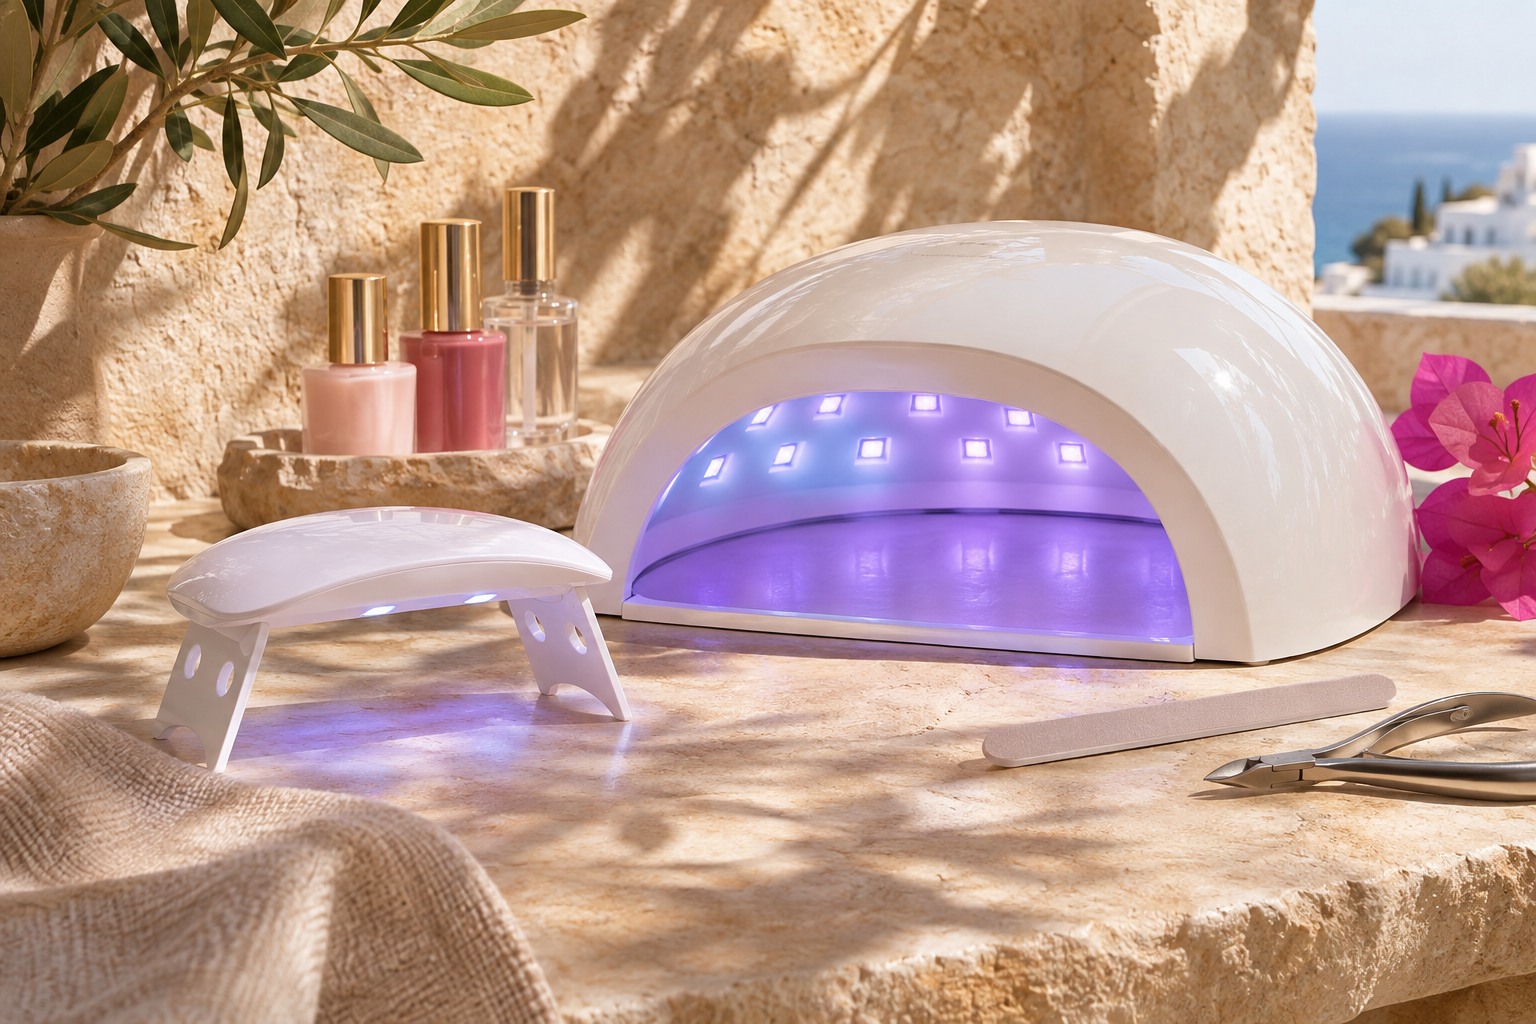
Photochemistry of Gel Curing: Photoinitiators & Acrylate Allergies
Gel polish does not dry through air evaporation; it hardens through free-radical photopolymerization. Formulations contain chemical photoinitiators (such as TPO or camphorquinone) that absorb specific wavelengths of ultraviolet light (specifically 365 nm UV and 405 nm LED). When struck by the correct light intensity, photoinitiators generate free radicals that link liquid methacrylate monomers into solid polymer chains.
A dangerous myth is that if gel polish feels dry to the touch on top, it is cured. In low-wattage mini lamps (6W to 9W), the surface layer may cure into a thin crust, while the underlying gel remains liquid against the nail bed. Uncured monomer molecules (especially HEMA) leach into the vascular nail bed over days, triggering permanent, lifelong allergic contact dermatitis that prevents you from ever wearing gels or dental fillings again.
The Proper Workflow: Mini for Flash, Full-Size for Final
Mini lamps have a vital purpose in nail art, but only as temporary positioning tools: 1. Flash Curing (Mini Lamp): When applying soft gel extensions (Gel-X) or delicate 3D charms, use a mini gooseneck lamp for 15 seconds to 'freeze' the tip in place while your fingers hold it down.
2. Full Curing (Full-Size 48W Lamp): Once all 5 fingers have their tips flash-cured in place, place your entire hand inside a 48W mirrored full-size lamp for a full 60 to 90-second cycle. This guarantees that 100% of internal monomers reach complete 98%+ polymerization depth safely.